
What Will My Photos Actually Look Like? Setting Honest Expectations
The fastest way to quit this hobby is to expect Hubble. The fastest way to fall in love with it is to understand what a small robotic telescope genuinely delivers, because on its own terms, it’s astonishing. Here’s the honest arc of what you’ll see.
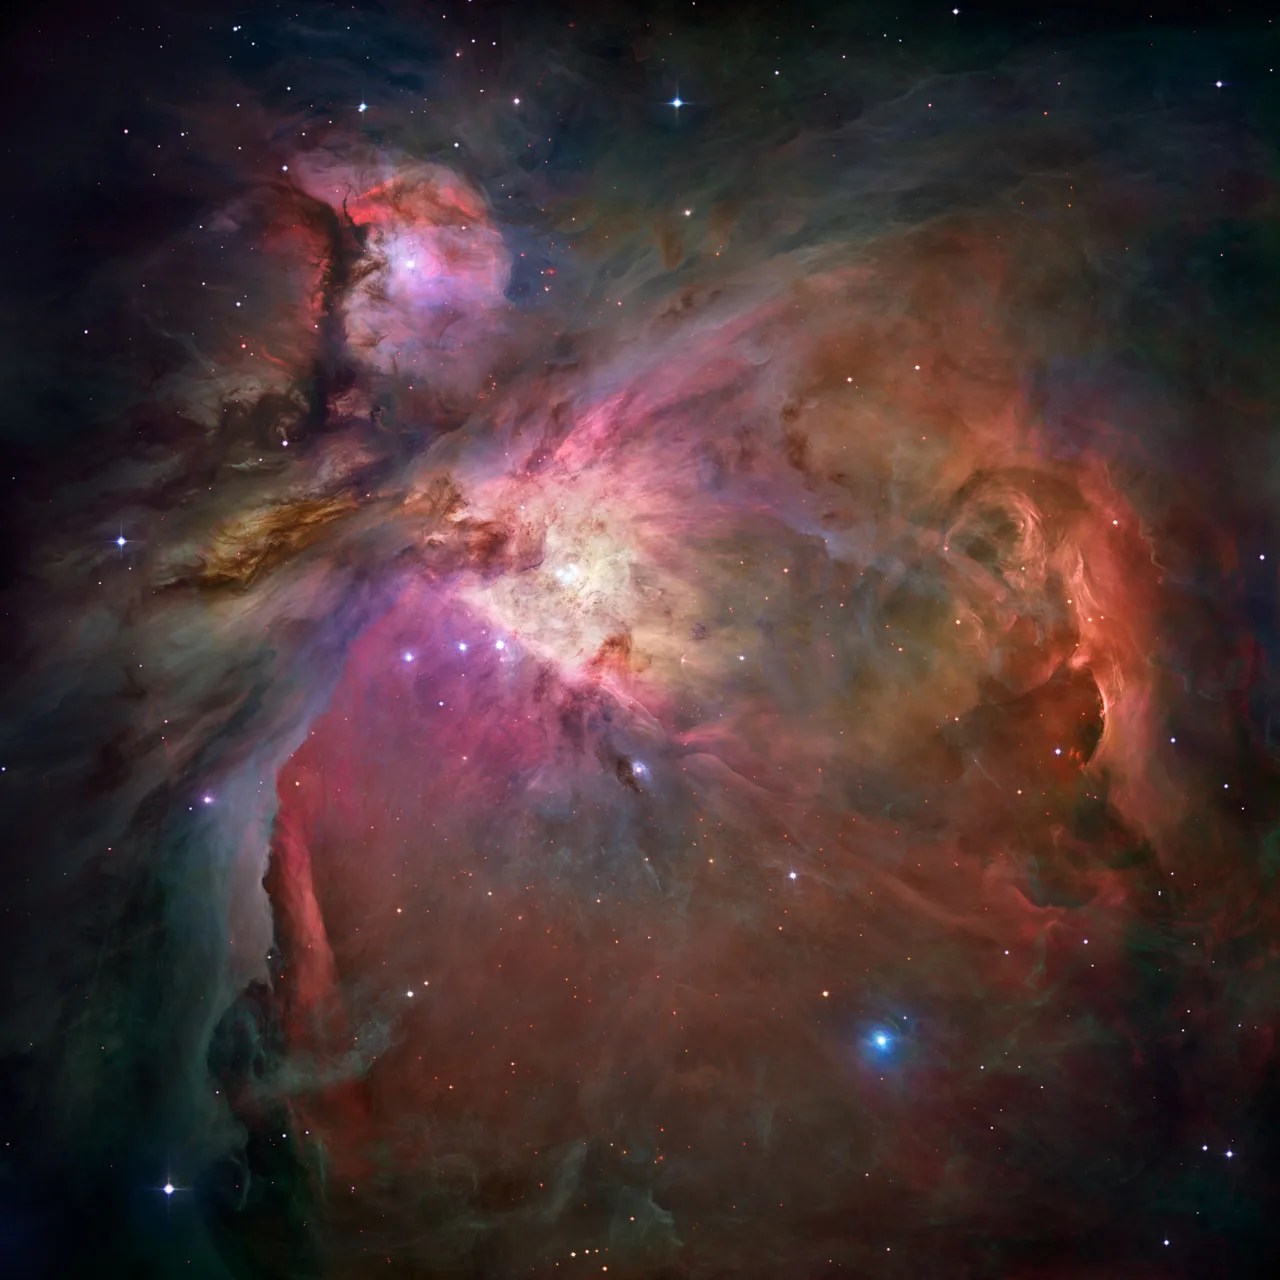
This article exists because of a specific, predictable heartbreak. A new owner unboxes their scope, points it at the Orion Nebula, and compares the result on their phone with the images they have seen all their lives: the swirling, razor-sharp, impossibly colorful portraits from space telescopes and magazine covers. The comparison is unfair in ways nobody warned them about, and some of them quietly return the scope. Meanwhile another owner with the same hardware and the same sky is texting their first nebula to everyone they know, delighted, because they knew what they were looking at: not a failed Hubble image, but a successful first photograph of a cloud of glowing gas 1,300-odd light years away, made from a picnic table. Expectations are the whole difference between those two people. Let’s set yours honestly.
Night one: the fuzzy miracle
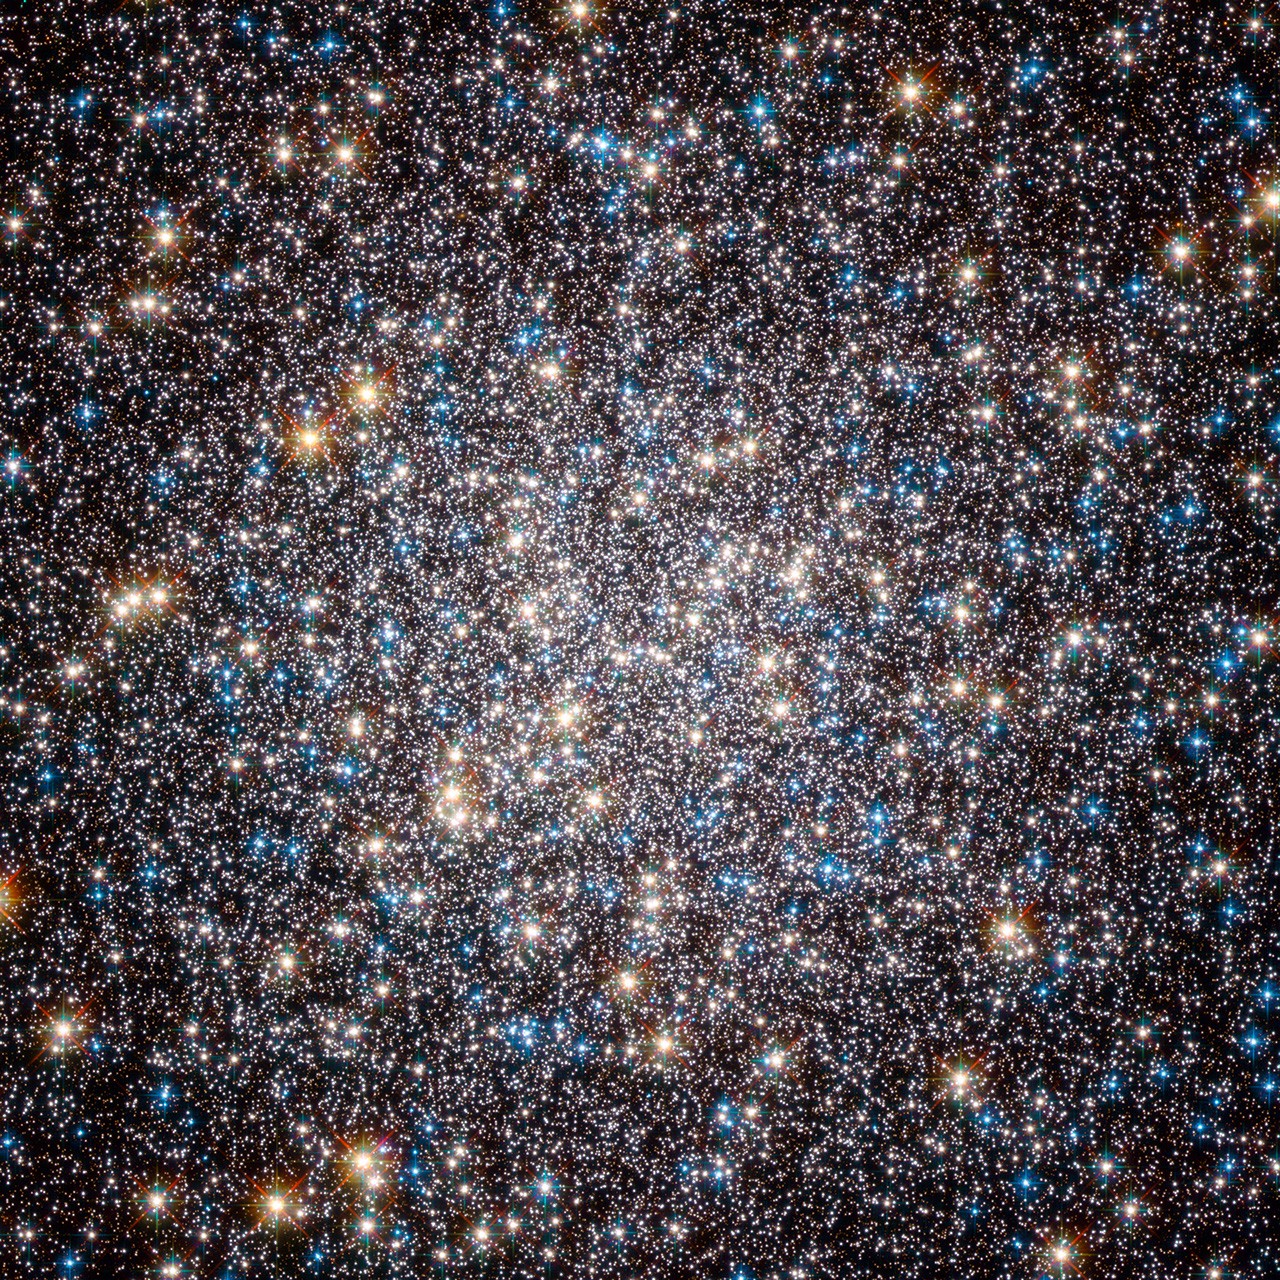
Your first ten-minute stack of the Orion Nebula will show a luminous fan of gas with a bright core, real color, and hints of structure. Your first Andromeda will be a glowing oval with a bright center and maybe a dust lane. Your first globular cluster will be a snowball resolving into pinprick stars at its edges. They will be modest in resolution, a little noisy, and they will be yours, made with a box you set on a picnic table an hour after unboxing. Nobody forgets that first image crawling out of the dark on their phone screen.[1]
It helps to know in advance what “modest” means in practice. Zoomed to fit your phone screen, night-one images look genuinely good: colorful, recognizable, shareable. Pinch-zoom into the corners and you will find soft stars and grain. View the same file on a 27-inch monitor and the softness is more honest with you. None of this is a defect, it is what ten minutes of light through a lens a few centimeters wide looks like, and every single one of those limitations has a lever you control, which is where this article is headed.
What the marketing images don’t tell you
Product-page galleries are usually best-case: hours of integration under dark skies, often finished in desktop software.[2] That is not deception exactly, every camera maker photographs their product’s best day, but it does mean the gallery is a ceiling, not a preview of night one. Three honest physics limits apply to every scope in this class:
- Aperture: 30–50 mm collects what 30–50 mm collects. Faint targets need time, not hope.
- Resolution: 2 MP sensors (S30, S50, Dwarf Mini) make images that look great on phones and start to soften on big monitors. The 4K scopes (S30 Pro, Dwarf 3) give you more cropping room.
- Planets are small: these are wide-field deep-sky instruments. Jupiter will be a bright disc with four moons, genuinely cool, not a banded marble.[5]
Why Hubble is not the yardstick
A moment on why the comparison everyone makes is the wrong one. Space telescopes operate above the atmosphere, so their images are never blurred by the shimmering air that limits every telescope on the ground. Their mirrors are measured in meters, not millimeters, collecting thousands of times more light than anything you can carry in a daypack. And their images are the product of long exposure campaigns and expert processing. Comparing your night-one stack to that is like comparing your phone’s photo of a bird to a wildlife documentary and concluding your phone is broken. The fair comparisons are these: what the same patch of sky looks like to your naked eye (nothing), what it looks like through a similarly sized eyepiece telescope (a faint gray smudge, if that), and what astrophotographers a generation ago needed to produce your night-one image (thousands of dollars, a car full of equipment, and months of practice). Against every fair yardstick, the little robot is a marvel.
The levers that actually improve your images
Here is the empowering part: the gap between your first stack and your best stack is mostly under your control, and none of it requires new hardware. In rough order of impact:
- Darker sky. Nothing else comes close. The same scope, same target, Bortle 7 vs Bortle 2, is a different hobby (why). Light pollution does not just add glow for the software to subtract; it buries faint detail beneath noise that no processing fully recovers. This lever is also the cheapest: it costs a drive. Our dark-sky park guide exists precisely because of this ranking.
- More integration time. Signal-to-noise grows with the square root of exposure, 40 minutes is twice as clean as 10 (the math). Revisit a target across several nights; the scopes can stack across sessions. This is the lever beginners underuse most, because the preview looks “done” long before it is. The difference between a 10-minute Andromeda and a 3-hour Andromeda from the same driveway is the difference between “nice smudge” and “there are dust lanes and companion galaxies in my photo.”
- Moon discipline. Shoot faint stuff in the dark fortnight; shoot the Moon, clusters, and filtered nebulae when it’s bright (planner). The Moon is a giant streetlight that follows you to every dark site, and unlike city glow you can schedule around it.
- Target selection. Match the target to your field of view and sky. High-altitude, high-surface-brightness targets forgive everything, our nightly ranked lists exist precisely for this, that is what Sky Tonight is for. A well-chosen target on a mediocre night beats a poorly chosen one under perfect skies.
- EQ mode. Once comfortable, the equatorial modes unlock longer sub-exposures and cleaner corners on long sessions.[3]
The arc: night one, month three, year one
Improvement in this hobby is not a grind, it is a staircase of small revelations. Here is the typical shape of it.
Night one
You shoot the two or three most famous objects overhead, stop each stack early out of excitement, and shoot from whatever patch of ground was nearest the door. The images are the fuzzy miracles described above. Keep them. You will want them later, the way people keep their first pancake.
Month three
You have learned patience. Stacks run 40 minutes to an hour while you do something else. You check the Moon before planning a night, and you have driven somewhere darker at least once, and the image from that night is the new best thing you have ever made. You have opinions about targets now: the Dumbbell Nebula punches above its fame, the Sombrero Galaxy is smaller than you expected, and there is one faint object you keep coming back to across multiple nights, letting the sessions stack, watching it deepen.
Month six: the quiet turn
Somewhere in the middle of the year, the hobby changes shape without announcing it. You stop asking “what can the scope do” and start asking “what is the sky doing,” which is the question astronomers have always asked. You know your local horizon, which neighbor’s tree eats which constellation, and roughly when your favorite season’s showpieces come back around. Your images from this stretch are better than month three’s not because anything was upgraded but because every choice, target, timing, site, duration, is now made with six months of pattern-matching behind it. This is also when most owners quietly re-shoot their night-one targets, and the before-and-after pair becomes the thing they show people.
Year one
A year in, a typical smart-scope owner shooting from parks a few times a season has a phone gallery that stops friends mid-scroll: the Dumbbell’s apple core, the Ring’s smoke loop, Andromeda spanning the frame, the Lagoon in Ha-filtered crimson. None would hang in a NASA archive. All of them say I found this, I captured this, I was there. That’s the product. The marketing never quite says it, but that’s what you’re buying.
Frequently asked, honestly answered
Will my images have color?
Yes, real color, and this genuinely surprises people. Through an eyepiece, almost every deep-sky object is gray, because your eye’s color vision fails at low light. The camera has no such failing: nebulae come out red and teal, star clusters show blue-white and gold stars. The color in your stacks is not painted on; it is what the object actually emits, accumulated until it is bright enough to see.
Why do my images look worse than other people’s from the same scope?
Almost always one of four reasons, in descending likelihood: their sky was darker, their stack was longer, their Moon was newer, or their target was better chosen for the conditions. Hardware is almost never the answer; the levers above are. Long-term reviews of these scopes make the same point with side-by-side examples.[4]
Can I make my images better after capture?
The scopes save your data, and the app-produced image is a starting point, not a verdict. Even simple photo-editor adjustments, contrast, color balance, noise reduction, can lift a stack noticeably, and the marketing galleries you have seen were often finished in desktop software. You do not need any of this to be happy on night one; it is a door that is open when you want it.
Is the Moon a good target?
Wonderful, and it is the one object where the “photos look modest” caveats mostly do not apply: it is so bright and so large that even small scopes return crisp, satisfying images of craters and maria. It is also the perfect target for exactly the bright-Moon nights that ruin faint nebulae; see the Moon-phase planner for turning the calendar to your advantage.
Why do my stars look slightly soft or bloated?
Some of it is optics: small, inexpensive lenses are not perfect, especially toward the corners of the frame. Some of it is the atmosphere: the same shimmering air that makes stars twinkle to your eye smears them slightly in every ground-based photograph, and on humid or turbulent nights it smears them more. And some of it is focus, which the scopes handle automatically but not infallibly; if one night’s stars look notably worse than last week’s, refocusing or simply restarting the target often fixes it. Soft stars are the normal texture of small-scope images, not a defect to troubleshoot at midnight.
What should my first month’s target list look like?
Think of it as a brightness ladder. Week one: the unmissable showpieces, the Orion Nebula or whatever grand nebula your season offers, the Pleiades, the Moon. Week two: the big classics that need slightly more patience, Andromeda, a bright globular cluster, a large emission nebula through the built-in filters. Week three and four: one step fainter, a planetary nebula, a galaxy beyond Andromeda, and one deliberately ambitious target that you revisit across several nights to watch multi-session stacking work. By the end of the month you will have felt every lever in this article move, and the ranked list on Sky Tonight will have quietly taught you what “well placed” means.
Will I outgrow the scope?
Maybe, and that is fine. Some owners eventually want bigger aperture and full manual control, and graduate to traditional rigs with a year of free experience in framing, planning, and sky-reading already banked. Many others never leave: the grab-and-go convenience keeps earning its place even alongside bigger equipment. Either way the scope was the right first move.
Common beginner mistakes with expectations
- Comparing your night one to someone’s year three. The community galleries you scroll are survivorship-biased toward long integrations under dark skies. Compare your night one to your own night ten instead.
- Judging the scope on a bright-Moon suburban night. The worst conditions produce the worst images. Give the scope one dark-site, dark-fortnight night before forming your opinion.
- Stopping stacks at “looks fine on the preview.” Signal keeps building after your excitement peaks. Walk away and let it run.
- Starting with the hardest targets. Faint face-on galaxies and dim nebulae punish beginners. Start with the bright showpieces, the Orion Nebula, big clusters, Andromeda, and work down the brightness ladder as your patience grows. Sky Tonight ranks what is forgiving right now.
- Treating the phone screen as the finish line. If an image thrills you at phone size, that is a win. Resist judging every stack at 100% zoom on a monitor; that habit steals joy from images that are, at the size anyone actually views them, lovely.
The honest bottom line
A smart telescope delivers something no marketing department has quite figured out how to say: not Hubble’s sky, but your sky, kept. The images will be modest by the standards of space agencies and spectacular by the standards of anything you have ever personally pointed at the night. The gap between those standards is where this hobby lives, and the owners who thrive are the ones who measure from the right end. Start with what these scopes are if you have not, choose one with our comparison, learn the one piece of theory that pays rent in Why Stacking Works, and then go point a small robot at a nebula and watch your first image crawl out of the dark. Everything else lives in the learning hub when you want it.
Notes & sources
- Long-term hands-on reviews document what first stacks of showpiece targets actually look like from these scopes, with unedited examples. AstroBackyard, Seestar S50 long-term review ↩
- Reviewers note that the strongest published smart-scope images typically involve long integration and further processing beyond the in-app result. AstroBackyard, Dwarf 3 review with example images ↩
- EQ-mode capabilities and their effect on long sessions are covered in independent testing of the Dwarf 3. BBC Sky at Night Magazine, Dwarf 3 review ↩
- Side-by-side image comparisons across conditions and integration times appear throughout hands-on coverage of the category. Live Science, Seestar S50 review ↩
- Manufacturer documentation is candid that these are deep-sky instruments rather than planetary ones. ZWO Seestar, official FAQ ↩